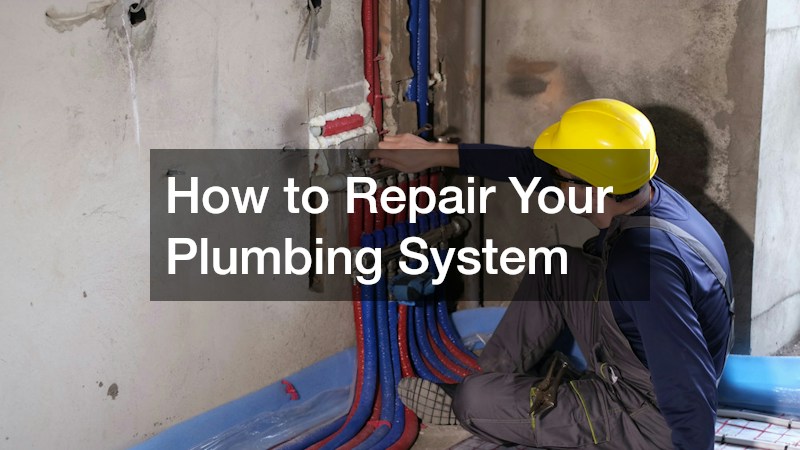
Maintaining a properly functioning plumbing system is one of the most fundamental aspects of homeownership. When sinks drain smoothly, showers maintain strong pressure, and waste flows away seamlessly, it is easy to take these complex networks of pipes for granted. However, plumbing systems are subjected to constant daily use, natural wear, mineral buildup, and fluctuating pressure. Over time, components inevitably degrade, leading to leaks, annoying drips, clogs, or even pipe failures. Addressing these issues promptly preserves everyday convenience while preventing costly structural water damage, mold growth, and inflated utility bills.
While major overhauls require professional plumbers, many common repairs fall well within the scope of a dedicated homeowner. Learning how to diagnose problems, choose the right materials, and safely execute repairs saves money and builds confidence in your home upkeep. Understanding your plumbing’s mechanics, adhering to safety protocols, and knowing when to use specific tools are the building blocks of successful self-performed repairs. This guide walks you through every major component of your system, offering actionable strategies to repair, restore, and maintain your plumbing.
Anatomy and Mechanics of Residential Plumbing
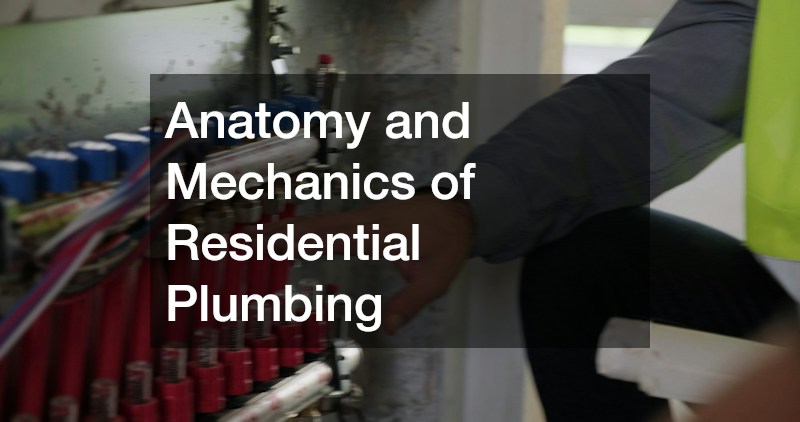
Understanding the Two Primary Systems
Every home relies on two separate, highly specialized subsystems working in tandem:
- Supply System: Brings pressurized water into your home from a municipal utility or private well. It distributes water to faucets, toilets, and appliances through pressurized lines.
- Drainage System: Relies on gravity to move wastewater away from the home into public sewers or private containment networks.
Because supply lines operate under continuous pressure, any compromise in the pipes or connections immediately creates an active leak. Locate your main supply valve so you can shut off water instantaneously during emergencies or repairs.
Demystification of the Drain-Waste-Vent Network
The Drain-Waste-Vent system depends on precise balance to clear waste effectively:
- P-Traps: Curved pipe sections under sinks that trap a small volume of water, preventing sewer gases from backing up into living spaces.
- Vent Pipes: Lines extending upward through the roof that introduce air into drainage pipes, preventing vacuums that slow down water flow.
If you notice slow drains across multiple rooms or hear gurgling sounds, the issue often stems from a ventilation blockage or an obstruction deep within the drainage trunk.
Identifying Pipe Materials and Connectors
Modern homes feature a variety of piping materials that dictate repair methods:
- Copper: Highly durable and resistant to bacteria; joined via sweat soldering or push-to-connect fittings.
- Brass & Nonferrous Fittings: When working on brass or copper supply branches, utilizing a nonferrous pipe fitting ensures seamless compatibility without introducing galvanic corrosion.
- Plastic (PVC/CPVC): Common in drainage and modern supply lines due to low cost and chemical welding ease.
- PEX: Flexible tubing resistant to freezing, widely used in modern retrofits due to simple crimp-fitting installations.
Basic Diagnostic and Safety Guidelines
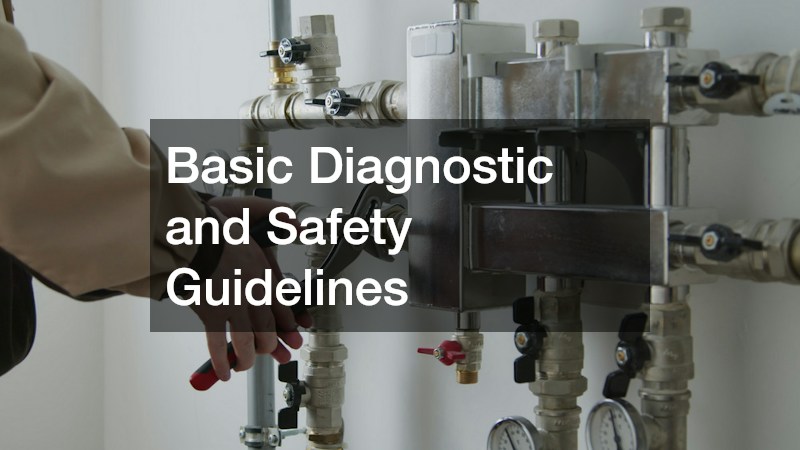
Locating and Isolating Water Valves
Before touching any pipe, safety and containment must be your top priorities:
- Fixture Stop Valves: Located directly beneath sinks, behind toilets, and near appliances to isolate individual units without cutting water to the whole house.
- Main Shut-Off Valve: Lever or wheel valve that completely depressurizes the entire property for major repairs.
Assembling the Essential Plumbing Toolkit
Having the right tools on hand ensures smooth repairs and prevents damaged threads:
- Wrenches & Pliers: Adjustable pipe wrenches, crescent wrenches, channel-lock pliers, and a basin wrench.
- Sealing & Cutting Tools: Tube cutters, hacksaws, Teflon thread seal tape, plumber putty, and joint compound.
- Clearing Equipment: Heavy-duty cup plungers, closet augers, and hand-crank drain snakes.
Recognizing Severe Hazards and Knowing When to Call Experts
While DIY repairs cover many household issues, recognizing your limits prevents disaster:
- Gas line repairs, main supply line bursts, and deep subterranean cracks require professional intervention.
- When faced with complex structural issues, hiring a licensed local plumbing contractor ensures code compliance, proper safety standards, and long-term reliability.
Repairing Common Faucet and Sink Leaks
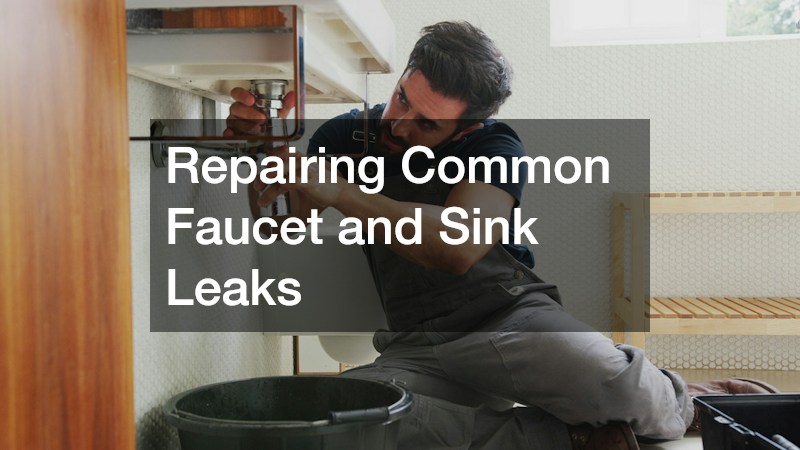
Disassembling Compression and Cartridge Faucets
Dripping faucets waste hundreds of gallons of water annually. To access the internal components:
- Pry off the decorative handle cap and unscrew the retaining screw.
- Remove the handle to expose the valve stem or cartridge body.
- Unscrew the packing nut on compression models, or pull the retaining clip on cartridge units.
Replacing Worn O-Rings, Washers, and Cartridges
The vast majority of faucet drips stem from deteriorated internal rubber seals:
- Compression Faucets: Replace the small rubber washer at the base of the stem and apply heat-resistant plumber grease to the threads.
- Cartridge Faucets: Replace the entire internal cartridge or swap out the internal O-rings and springs.
- Maintenance: Clean out mineral buildup inside the valve housing using fine steel wool or white vinegar before reassembly.
Clearing and Resealing P-Traps Under Sinks
Standing water beneath the sink usually points to loose fittings or degraded gaskets around the P-trap:
- Place a bucket beneath the trap to catch residual water and sediment.
- Loosen slip nuts at both ends of the trap by hand or with channel-lock pliers.
- Clear out accumulated hair and debris, replace cracked rubber bevel washers, and reassemble securely.
Unclogging Drains and Sewer Line Repair
Master Tools for Clearing Fixture Blockages
Avoid harsh chemical drain openers that corrode pipes. Instead, use mechanical clearing methods:
- Cup Plungers: Seal over the drain opening and use firm upward and downward plungers to break up localized blockages.
- Hand-Crank Drain Snakes: Feed the cable directly into the drain line while rotating the handle to snag hair and mechanical blockages.
Tackling Main Line Blockages and Tree Root Intrusions
When multiple fixtures back up simultaneously, the obstruction sits in your main sewer line:
- Main lines frequently suffer from severe grease buildup or invasive tree root intrusion.
- If you encounter recurring main line blockages, contacting experienced local drain cleaning companies provides access to specialized equipment like diagnostic video cameras for sewer line repair.
Managing Acute Drainage System Emergencies
A severe main line backup can cause contaminated wastewater to overflow into your home within minutes:
- Shut off your main water valve immediately to stop adding water to the system.
- Avoid running washing machines, dishwashers, or showers.
- When rapid mitigation is required, securing emergency drain cleaning services will restore main drain flow safely before permanent water damage occurs.
Toilet Maintenance and Overhaul
Fixing Running Toilets and Flapper Issues
A toilet that runs continuously can waste up to 200 gallons of water daily:
- Water level too high: Adjust the float height downward on the fill valve shaft.
- Defective flapper: Unhook the degraded flapper from the flush lever chain, clean the valve seat, and snap on a new rubber flapper.
Replacing Fill Valves and Flush Mechanisms
If the fill valve fails to shut off completely, perform a total unit replacement:
- Turn off the stop valve beneath the toilet, flush the tank, and sponge out remaining water.
- Disconnect the water supply line and unscrew the locknut beneath the tank base.
- Install the new fill valve with its rubber washer, tighten the locknut, reattach the supply line, and adjust the fill height.
Resetting Toilet Base and Replacing Wax Rings
Water leaking around the exterior base during a flush indicates a failed wax ring:
- Drain the toilet, disconnect the supply line, and remove the floor closet nuts.
- Lift the toilet straight up and lay it on its side on a towel.
- Scrape off old wax, place a new wax ring onto the floor flange, and press the toilet down firmly onto the new seal before securing the bolts.
Water Heater Care and Repair
Performing Routine Flushing and Anode Rod Inspection
Water heaters require simple periodic care to maintain efficiency:
- Flush the Tank: Connect a garden hose to the bottom drain valve annually to clear mineral sediment.
- Inspect the Anode Rod: Check the sacrificial anode rod every two years and replace it when worn to prevent interior tank rust.
Troubleshooting Heating Elements and Gas Controllers
When your hot water supply drops or fails completely:
- Electric Units: Test upper and lower heating elements with a multimeter to identify burned-out parts.
- Gas Units: Inspect the pilot light, electronic igniter, and thermocouple.
- Complex Repairs: If the system trips pressure relief valves or fails despite basic fixes, scheduling professional water heater repairs will resolve underlying electrical or gas control faults safely.
System Replacement and Servicing Requirements
Water heaters typically last 8 to 12 years before requiring total replacement:
- Active leaks from the outer casing indicate internal tank failure, requiring immediate unit replacement.
- For complete system replacements or expansion tank installations, relying on a licensed water heater service guarantees full compliance with local building codes.
Septic System Maintenance and Care
Understanding Tank Functionality and Waste Decomposition
For homes off the municipal sewer grid, private septic systems process wastewater:
- Solids settle at the bottom forming sludge, while oils float to create a top scum layer.
- Anaerobic bacteria digest organic material in the middle layer before clear effluent flows into the leach field.
Preventive Measures to Avoid System Overload
Protect the biological balance of your system by following these operational rules:
- Never flush non-biodegradable items like wipes, paper towels, or dental floss.
- Avoid pouring harsh chemicals or excess bleach down drains, which kill beneficial bacteria.
- Divert surface water and gutter downspouts away from the drainfield to prevent soil saturation.
Establishing Routine Tank Cleaning Schedules
Non-digestible solids accumulate over time and must be physically removed:
- Schedule professional septic pumping services every three to five years depending on household size.
- Hiring a local septic tank cleaning provider ensures tank baffles are inspected, filters are cleaned, and solids are removed without damaging concrete or fiberglass tanks.
Pipe Jointing, Cutting, and Fitting Techniques
Cutting and Deburring Various Piping Types
Proper joint preparation ensures leak-free operations:
- Use a wheel-style tubing cutter for copper and rigid plastic to guarantee perfectly square cuts.
- Remove internal and external burrs with a deburring tool or utility knife to maintain smooth water flow.
Master Techniques for Soldering and Solvent Welding
Joining pipes requires precise installation techniques:
- Copper Soldering: Clean pipe ends with wire brushes, apply flux, heat the joint with a propane torch, and feed lead-free solder into the seam.
- Plastic Solvent Welding: Apply purple primer to soften the plastic, coat with PVC cement, push the pipe into the fitting with a quarter-turn, and hold for thirty seconds.
Mechanical Fasteners and Push-Fit Innovations
When working without heat or glue:
- Compression Fittings: Compress a brass ferrule between a nut and the fitting body for reliable supply line seals.
- Push-to-Connect Fittings: Utilize internal stainless steel teeth and an O-ring to create instant watertight seals across copper, CPVC, and PEX.
Preventing Future Plumbing Failures
Implementing Seasonal Winterization Measures
Prevent freezing pipes during winter months through basic preparation:
- Insulate exposed pipes in unheated crawlspaces, attics, and basements with foam sleeves.
- Disconnect outdoor hoses and shut off interior valves serving exterior spigots before cold weather hits.
- Open cabinet doors under sinks during deep freezes to allow home heat to circulate around plumbing.
Managing System Water Pressure
Excess pressure strains pipe joints and fixture seals:
- Maintain home water pressure between 40 and 60 PSI.
- Test pressure using a screw-on gauge attached to an outdoor hose spigot.
- Install or replace your main pressure reducing valve if readings exceed 80 PSI.
Developing a Routine Maintenance Checklist
Catching minor problems early keeps your system running smoothly:
- Inspect under sinks quarterly for dampness, rust, or cabinet wood warping.
- Replace rubber washing machine hoses with braided stainless steel lines every five years.
- Test your sump pump periodically by pouring water directly into the pit to verify switch activation.
Mastering residential plumbing repairs is a rewarding endeavor that safeguards your home, saves financial resources, and promotes efficient water use. By understanding the core mechanics of supply and drainage systems, you can troubleshoot issues methodically rather than reacting in panic when problems arise. Equipping yourself with basic tools, practicing clean joining techniques, and adhering strictly to safety guidelines empowers you to handle everyday drips, clogs, and fixture upgrades with confidence.
While taking a hands-on approach resolves many routine issues, knowing your limits remains a hallmark of smart homeownership. Recognizing when a job requires heavy machinery, diagnostic tools, or structural intervention protects your property from unintended damage. Combining proactive maintenance, seasonal winterization, and regular visual inspections creates a resilient plumbing system that will perform reliably for decades to come.